Wednesday, March 30, 2011

Tink Card Holder box


This is a box I did for my card organizer challenge (yes I did two for the challenge).  This was a bit more challenging than the other one I posted.  The thing I like about this one is that you can make tabs for the cards to sort them by catagories.  I had to do a tink theme as she is my all time favorite.


This is the inside look of it. See.. sorting in catagories.  *wink*

Tuesday, March 29, 2011

Updates and other ideas...

I have uploaded some things on my Chef page that I will be offering for my Catering parties and still have a lot of other recipes for you that I have been doing the last month.  I have been busy cooking up a storm in my tiny kitchen and trying out new things.  Everyone seems to love them so go on over to my Chef page if you click on the little chef on the right it will take you straight there.  Happy Cooking!

On the other side of my creations I have been brainstorming on some April fools day treats that I think my boys will love & will be surprised to know what they really are... so stay tuned for what is up my sleeve cause you won't want to miss this one!

Easter is also around the corner and I am going to be making a few crafts this weekend to get myself ready for it.  I have a few ideas but still searching for better things. *wink*

See you soon!

Card Organizer box


Here is a little something I decided to do for a challenge in one of my yahoogroups and I loved how easy it actually was to make and the designs for these are endless! Thanks for looking!
Here is the website I found the instructions and inspiration to try one.. Dannies Designs

Thursday, March 17, 2011

Rainbow Bags


These are my goodie bags I did for St. Patty's Day for my boys and the neighbor kids.  Didn't they turn out cute??  The licorice was a bit frustrating at first to get in the bag but once you do two, three of them without wanting to throw them across the room you figure out how to get them in easier. ;) *wink*
I got this idea from another blog but cant for the life of me remember what the name of it was (so if you know please let me!) the circle printable was from the How Does She? webpage.  Love their printables.


Hope to see you try these, I am going to be making Easter projects next so stay tuned!!

Tuesday, March 8, 2011

Bath Girl

Sorry this picture is so blurry, I reallly need a new camera!

This is a card I did for a challenge in one of my yahoogroups.  I love this girl from: sassy studio designs
I believe she is one of the free Digi stamps available so check them out soon.
Happy Mardi Gras!!!

Monday, March 7, 2011

Easel Card

Here is a 4x4 Easel Card I did over the weekend as well.  I love making these cards, so easy to do and so fun.  The digital image is again from: SOG

Door Hanger

Here is a door hanger that I did over the weekend.  I love the new paper I found at the local craft store.
The digital image is from Some odd girl.
Here is a closer look:

Wednesday, February 23, 2011

Snowman Easter bunny

Snowman Easter bunny
I did this card for a challenge on one of my yahoogroups.  The digital stamped image is from Sassy Cheryls
Hope you enjoy looking!

Monday, February 7, 2011

Sock Sundaes

My sock sundaes I made for all the girls in my family on Christmas.  These were very easy to make and at the end when I finished 15 of them I bought some clear wrap and tied a ribbon on the top so it all secured nicely while I transfered them to my sisters house.
They were lots of fun and would even be a great Valentine gift if you change the theme on them.
The wine glasses I found were from the Dollar Store, yep you read that right, the dollar store! 
I put some tissue on the bottom so the sock would pop up a bit to make it look more dimentional.
I rolled up the long cozy socks and stuffed them in the glass.
On the back of the sock I inserted a candy cane, straw and some assorted chocolates and mints.
I bought the winter themed toothpicks at the Dollar store as well (came with cupcake liners but I can save those for later. *wink*) and inserted one in the front side.  You could also save these toothpicks and put on the outside of the wrap with the ribbon if you prefer.
Tied the ribbon around the top of the glass and thats it!  Very fun to do and so many ideas you can use these with.  Have fun!

Me and mine-

Just wanted to let you all know that I plan to update this blog and a new blog I am working on for my son Sammy and I.  We love to cook and we are always in the kitchen trying new recipes and having a blast together!  Here is the link so please feel free to check it out later this month as I will be adding some great recipes I have just recently tried from Bobby Flay, Guy from the Double D show and more...
See you there!

http://meandmylilchef.blogspot.com/

MINI PEANUT BUTTER CHEESECAKES

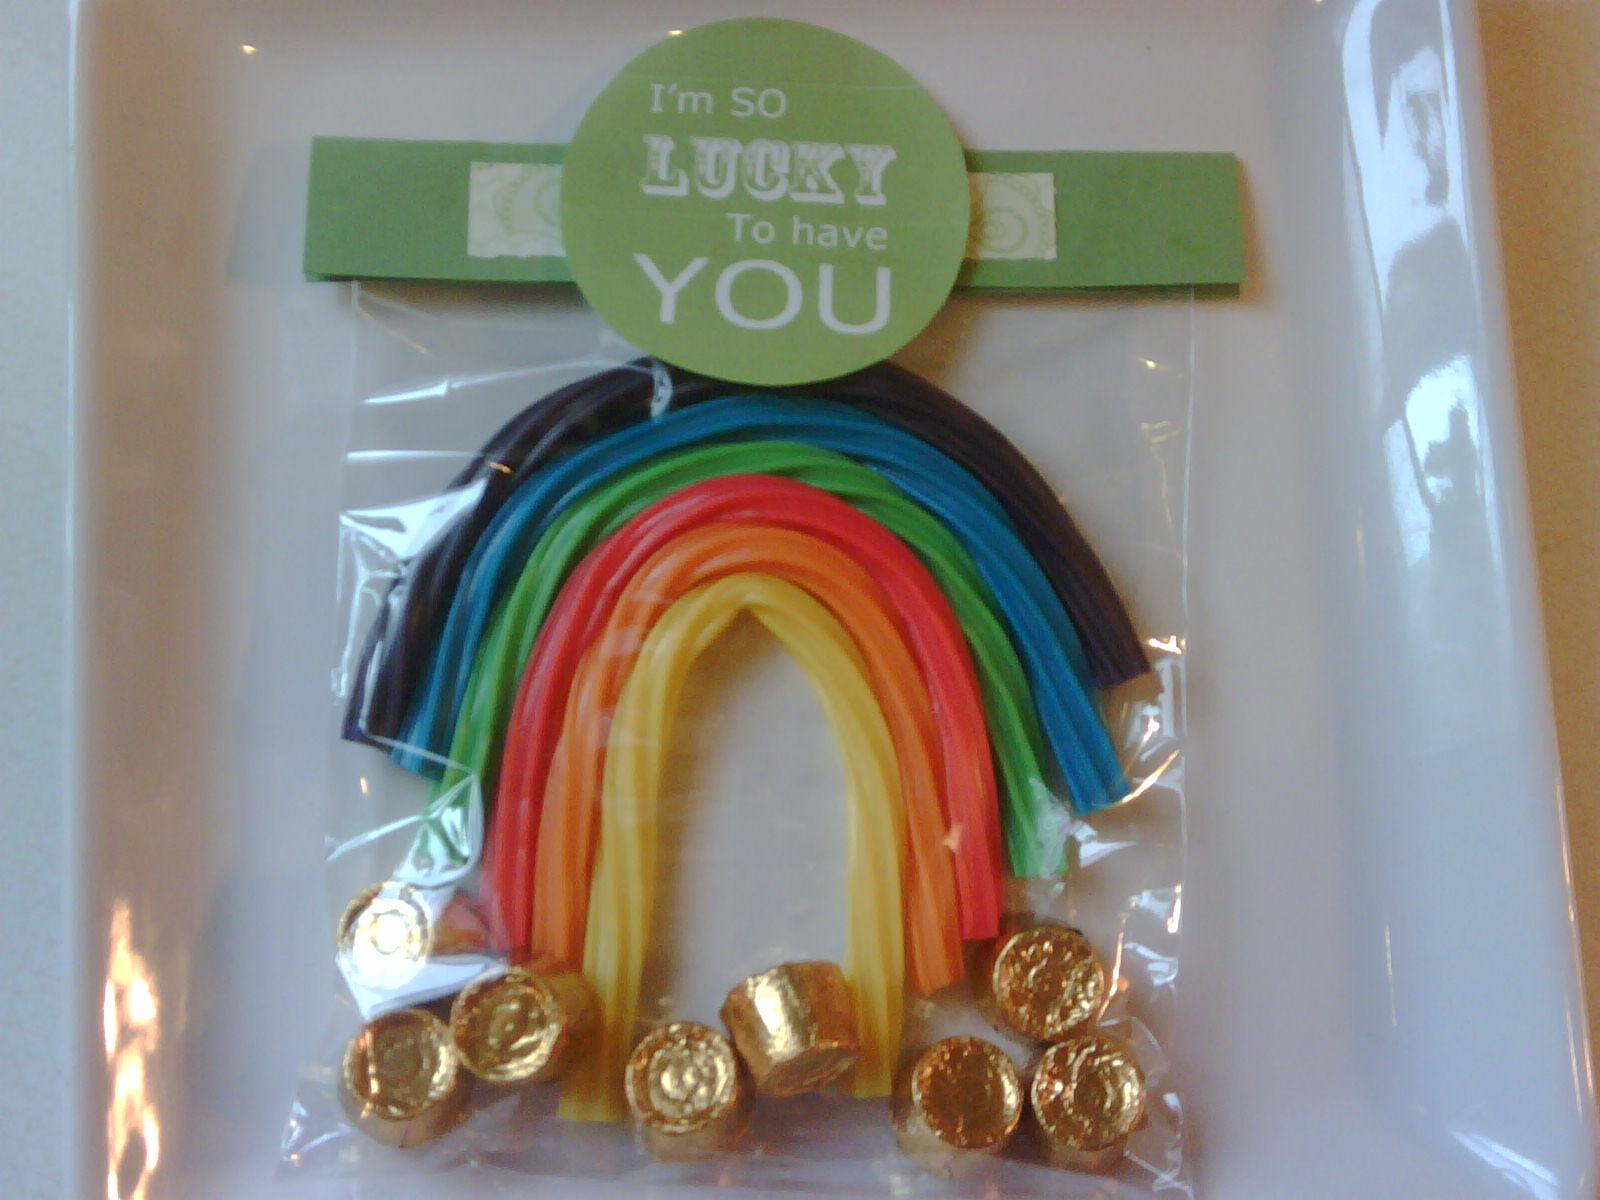
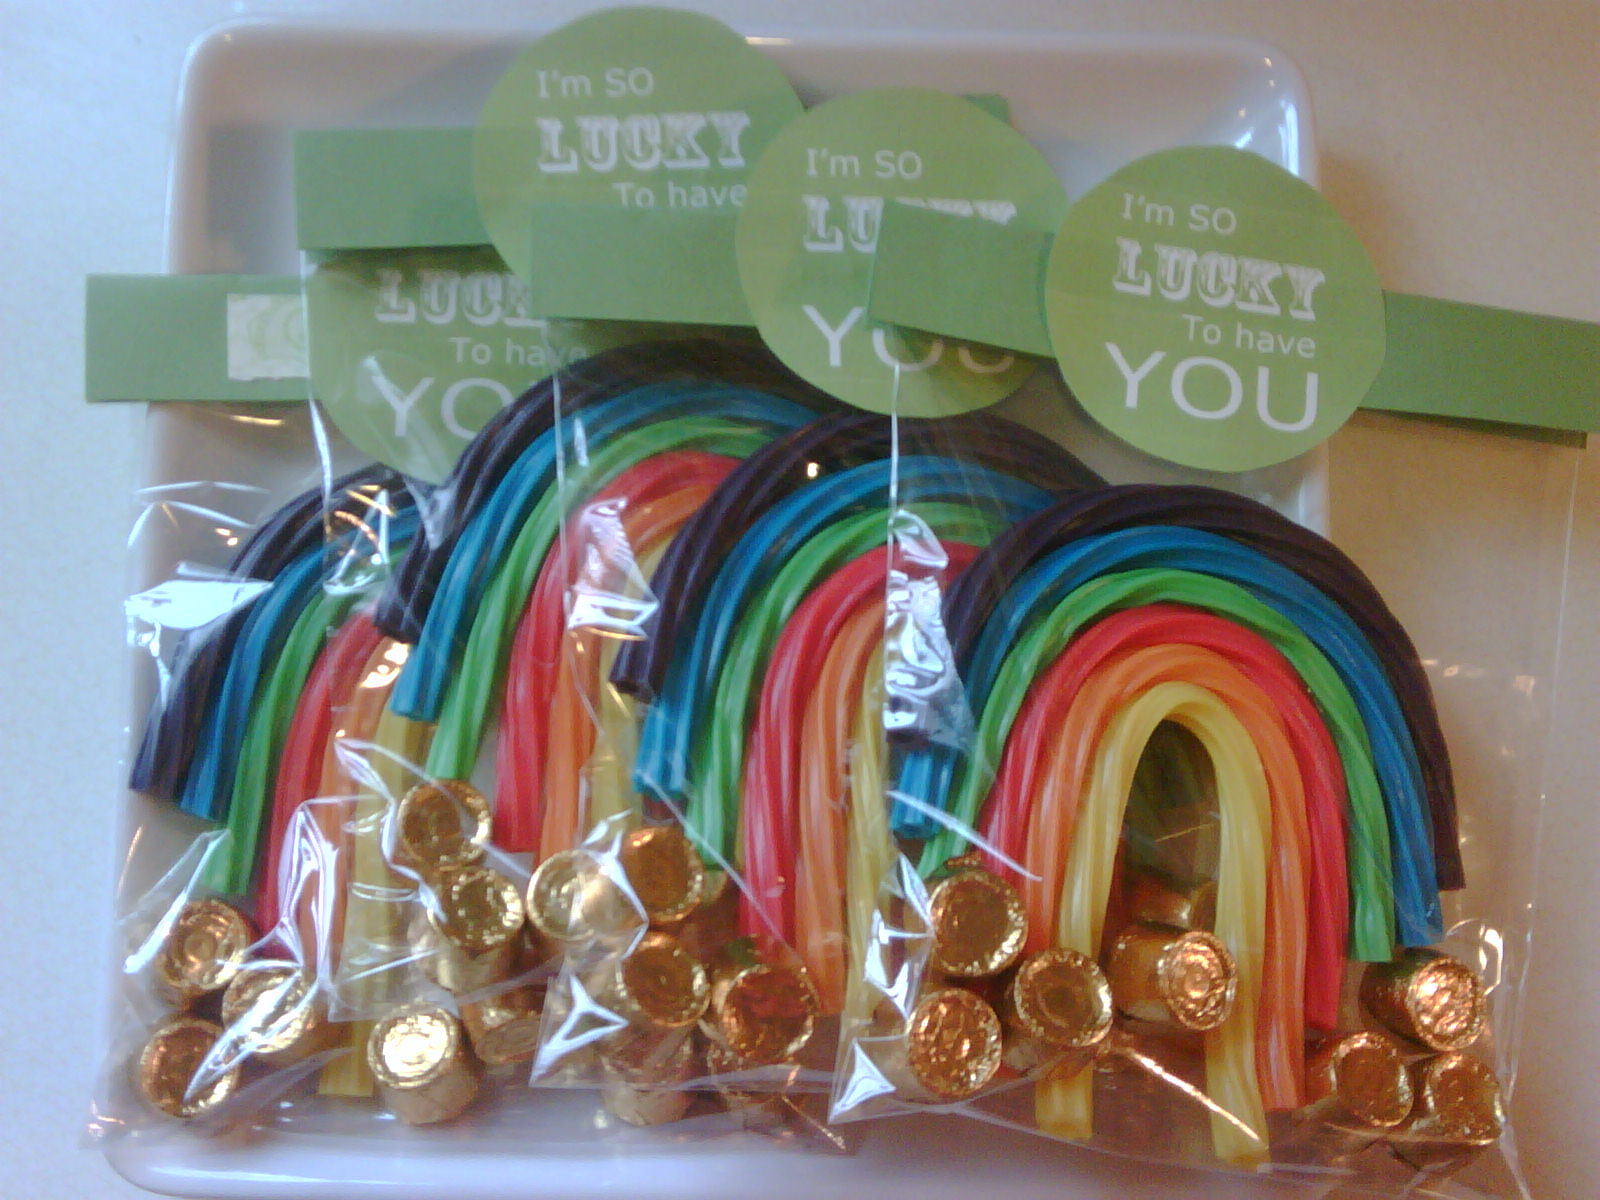
This is a recipe my friend Laurie did that she would like to share on the blog.  She loved how this turned out and said it was very tasty!  I still want to try this, looks very good and a great Valentine treat! Enjoy!!!


Recipe below-

•1 pkg (9.5 oz) Keebler Fudge Shoppe Peanut Butter Filled cookies
•2 bricks (8 oz each) 1⁄3-less-fat cream cheese (Neufchâtel), softened
•11⁄4 cups sugar
•1 cup creamy peanut butter
•1 tsp vanilla extract
•3 large eggs, at room temperature
•Chocolate Glaze
•3 oz semisweet baking chocolate
•2 Tbsp unsalted butter
•2 Tbsp light corn syrup
•1⁄2 tsp vanilla extract
•1⁄4 cup roasted peanuts, chopped

Recipe Preparation

1. Heat oven to 325°F. Line muffin pans with 24 paper (not foil) baking cups.

2. Break cookies into a food processor. Pulse until fine moist crumbs form. Press about 1 Tbsp evenly over bottom of each cup. Freeze until ready to fill.
3. Beat next 4 ingredients in a large bowl with mixer on medium speed until smooth. On low speed, beat in eggs, 1 at a time, just until blended. Spoon about 2 1/2 Tbsp into each cup.
4. Bake 20 minutes, or until puffed. (Some may crack on top; that’s OK.) Cool completely in pans on a wire rack.
5. Meanwhile, prepare Glaze: Microwave ingredients on medium, stirring until smooth. Cool slightly.
6. Peel off liners. Place cakes on a foil-lined baking sheet. Spoon glaze over tops; sprinkle with nuts. Refrigerate at least 2 hours for glaze to set.
Planning Tip: Refrigerate, with wax paper between layers, up to 1 week, or freeze airtight up to 1 month (thaw in refrigerator).

Valentine Corset Bustier

This is a card I did for my husband for Valentines day.  This is the sexy side of me.
If you would like to the pattern for this please email and I will gladly email you the pattern.  I still don't know how to do it here so until I figure that out all downloads on pattens, etc.. will have to be emailed (sorry, i'm still learning...).
I had a fun time doing this card although it took me forever to do as I had to do it all freestyle.
The back of this is a regular card base that is glued to this card front.
I used eyelets for the shirt holes and ribbon going upward to tie on top. I also used decorated scissors (victorian) for the border to give it a more lace look.  I am pleased on how this turned out.  Enjoy!